
1. How Windows 11 handles notifications
Windows 11 displays notifications in the lower right-hand corner of the screen, just about the clock in the Taskbar – and there is no configuration you need to do to get things working.
You'll know when you receive a new notification as it will simply pop into view to get your attention. The type of notification you receive will depend on the action your take.
Some notifications contain everything you need to know, while others – such as those informing about a new email – will need to be clicked to take you to the app that generated the message so you can find out more.
2. Dealing with notifications
When a notification appears, you do not have to deal with it straight away. You can simply ignore it until you have time for it, or you can click the 'x' button to the upper right of the popup.
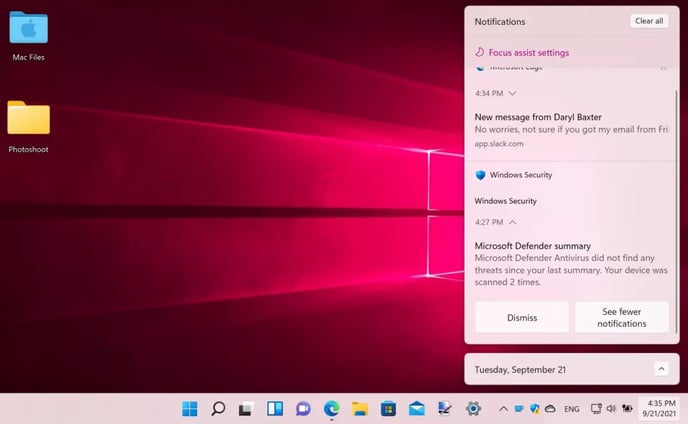
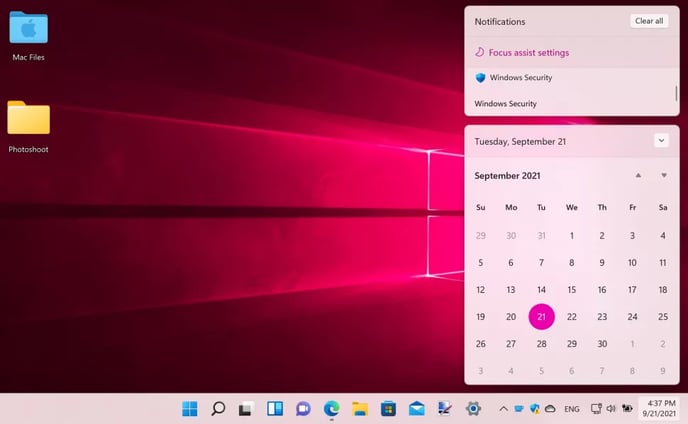
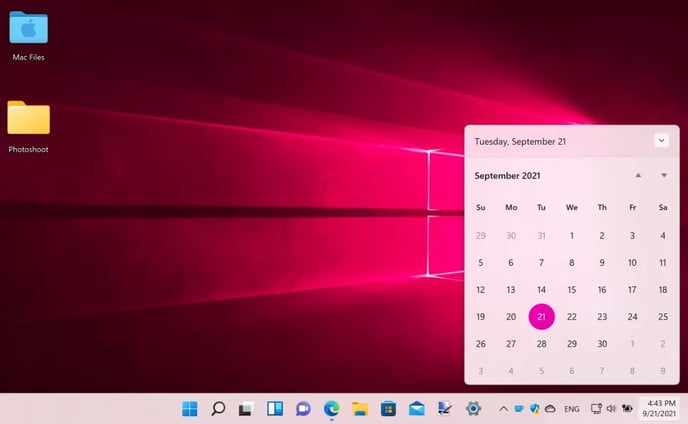
As new notifications come through, a counter appears to the right of the clock and shows you how many you have to see. If you click the counter or the Taskbar clock, you will see a list of all of the notifications that have come through as well as the calendar.
3. Use keyboard shortcuts
For anyone who is a fan of keyboard shortcuts, there is another very handy way to access the list of notifications you have received.
Just press the Windows key and N at the same time and the notification panel will slide into view. You can then interact with the notifications in whatever way you need to, or just ignore them after you've glanced at them.
As soon as you click somewhere other than within the notification panel, or press another key on the keyboard, the notifications will disappear again.
4. Tidy up
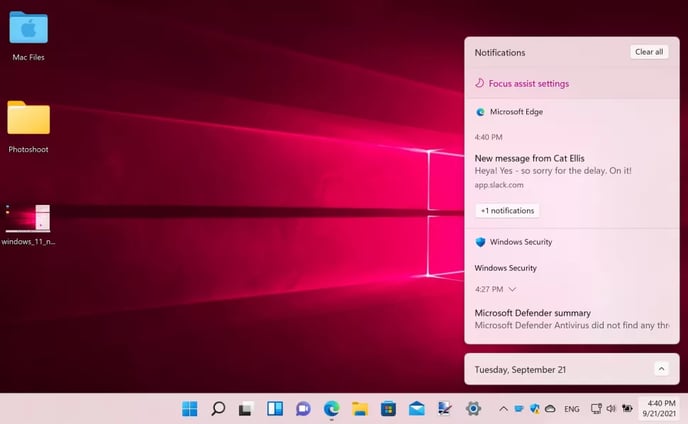
It is possible that an app will have generated more than one notification for you, but the notification sidebar does not display them all at once for the sake of tidiness.
In fact, you will only see one entry in the list for each app, with just the most recent including any detail.
If there are more notifications from the same app, you will see a button indicating this; click the '+x notifications' button and the entry for that app will expand to display all of the notifications, and see fewer to compress the list again.

5. Clear notifications
There are various ways to clear notifications so they do not stick around in the list forever.
Apart from clicking a notification to switch to the associated app, you can hover your cursor over one and then click the 'x' button that appears to close it.
You can not only do this for individual notifications but also clear all of the notifications from a single app in one fell swoop – just hover over the name of the app and click the 'x' button that appears to the right of its name.
6. Do it all at once
There is also a quick and easy way to clear all notifications at once, making them all as read and removing them from view in one fell swoop.
At the very top of the notification panel, in the upper right-hand corner, you'll see a 'Clear all' button. click this and all of your notifications will be cleared and marked as read, regardless of where they originated.
This is a very handy option that can save you a great deal of time if you have already visited the apps in question and seen what you have been notified about.
7. Turn off all notifications
Now, it may be that you are the type of person who does not want to receive any app notifications from Windows 11.
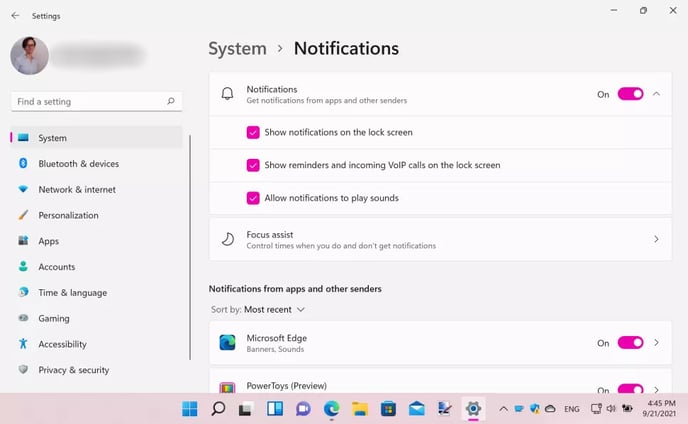
This could be a temporary measure while you focus on something distraction-free, or it may be a more permanent arrangement if you prefer. Open up Settings and head to the 'System' section.
At the top of the list of options, you will see one labelled Notifications with a toggle next to it. Click the toggle so that it is in the 'Off' position and you will no longer be bothered by notifications. To re-enable, just move the toggle back to the 'On' position.
8. Configure notifications per app
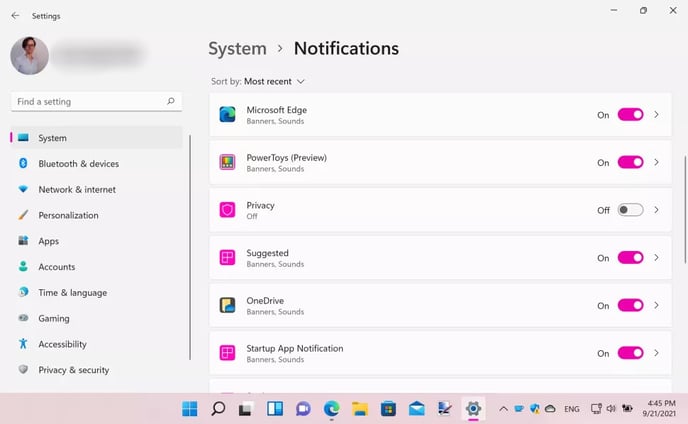
Perhaps a better option is to configure notification options for individual apps. If you have apps that you are not interested in receiving notifications from, you can simply disable them.
To do so, right-click the clock in the taskbar and select "Notification settings". Browse through the list of apps that are displayed and use toggle to the right of an entry to enable or disable notifications for a particular app.
You'll notice that there are also entries that relate to Windows 11 itself rather than individual apps – such as Settings and Autoplay – and these can be treated in precisely the same way; simply move a toggle to the 'Off' position to turn off those notifications.
9. More control over notifications in Windows 11
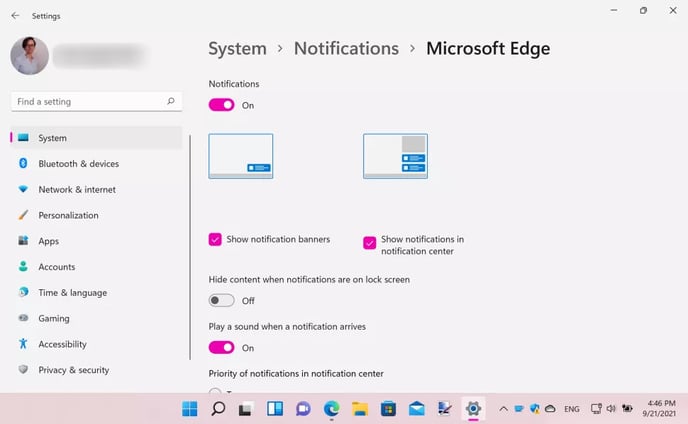
Windows 11 gives you even finer-grained control over notifications than this, however.
Click the small arrow to the right of a toggle in the list of apps and you can configure advanced settings for an app. You can choose the type of notifications that should be used – banners or messages in the Notification Center – and choose whether sounds should be played when notifications appear, set the priority of notifications from a particular app, as well as deciding whether the content of notifications should be displayed on your computer's lock screen.

10. Use Focus Assist
Another option to take control of notifications is to use Focus Assist.
Call up the notification pane by pressing Win + N and click 'Focus assist settings' at the top. if you have configured different priorities for notifications from different apps, you can use the 'Priority only' setting to ensure that you are only pestered by high-priority messages when Focus assist is enabled – something you can do by clicking the speaker icon in the taskbar and then clicking the 'Focus assist' button.
This is just a very quick look at quietening things down with Focus Assist. Check out our full guide to using Focus Assist in Windows 11 for more information.